 |
|
 |
LittleMissMini - Cars (Mini Restoration) |
Restoration
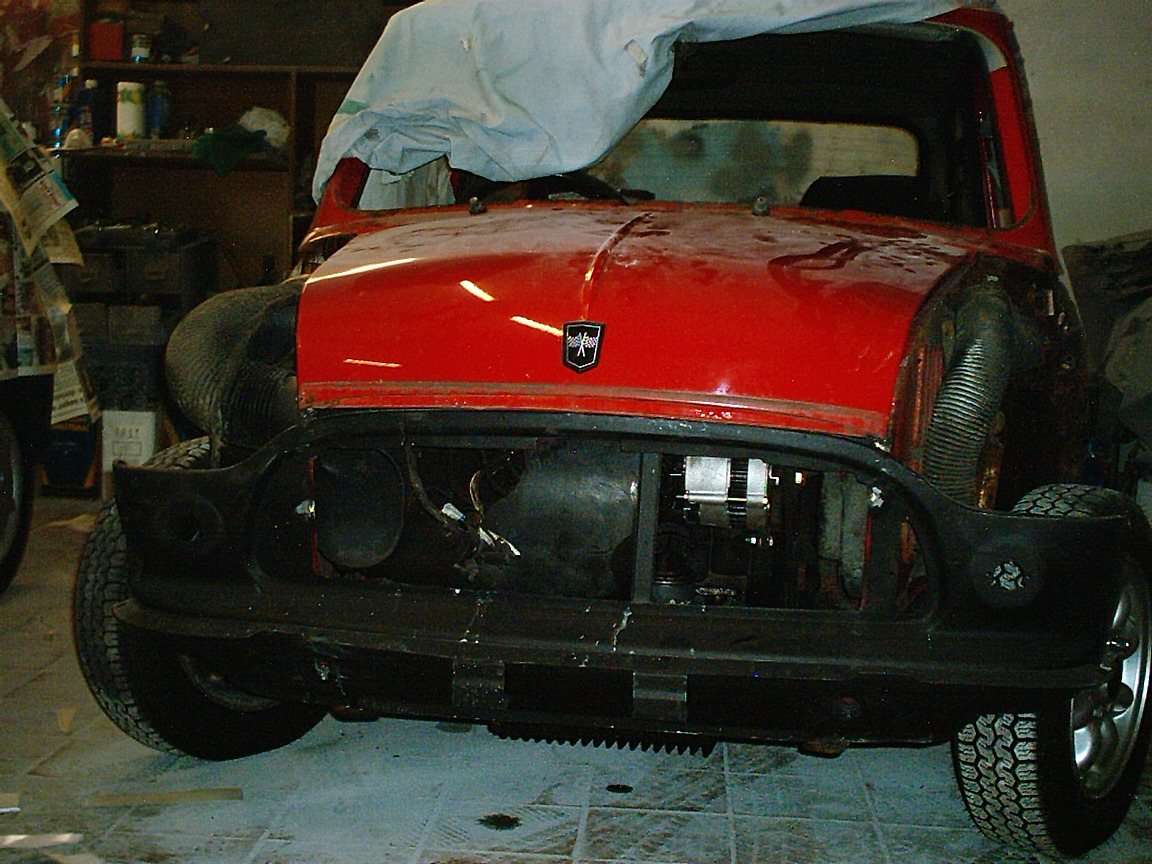
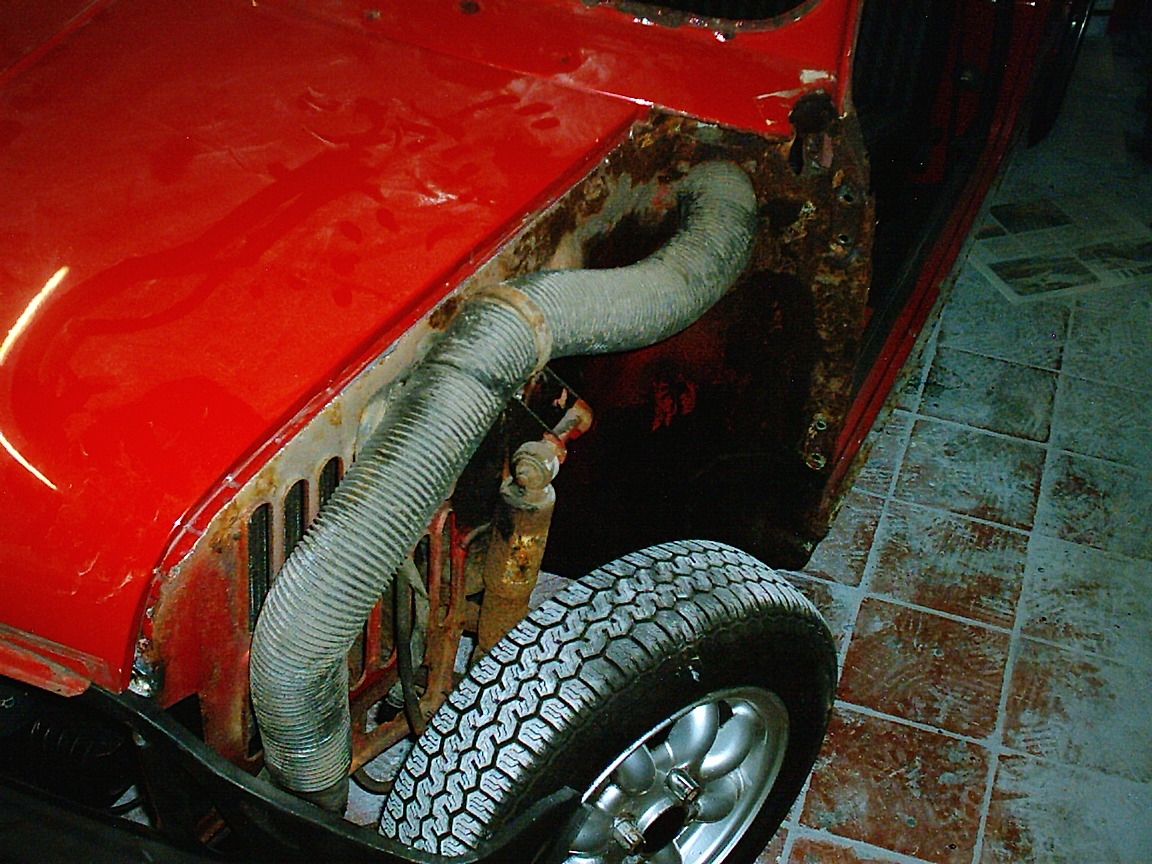
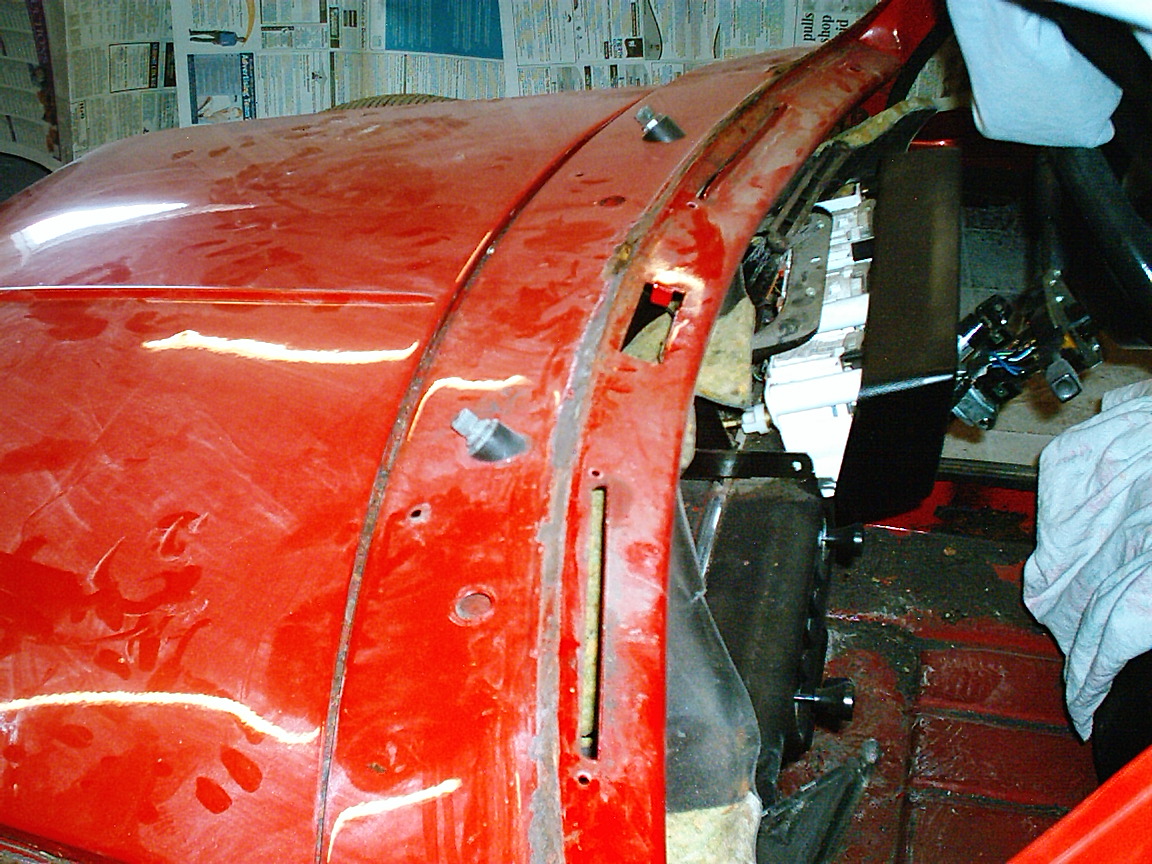
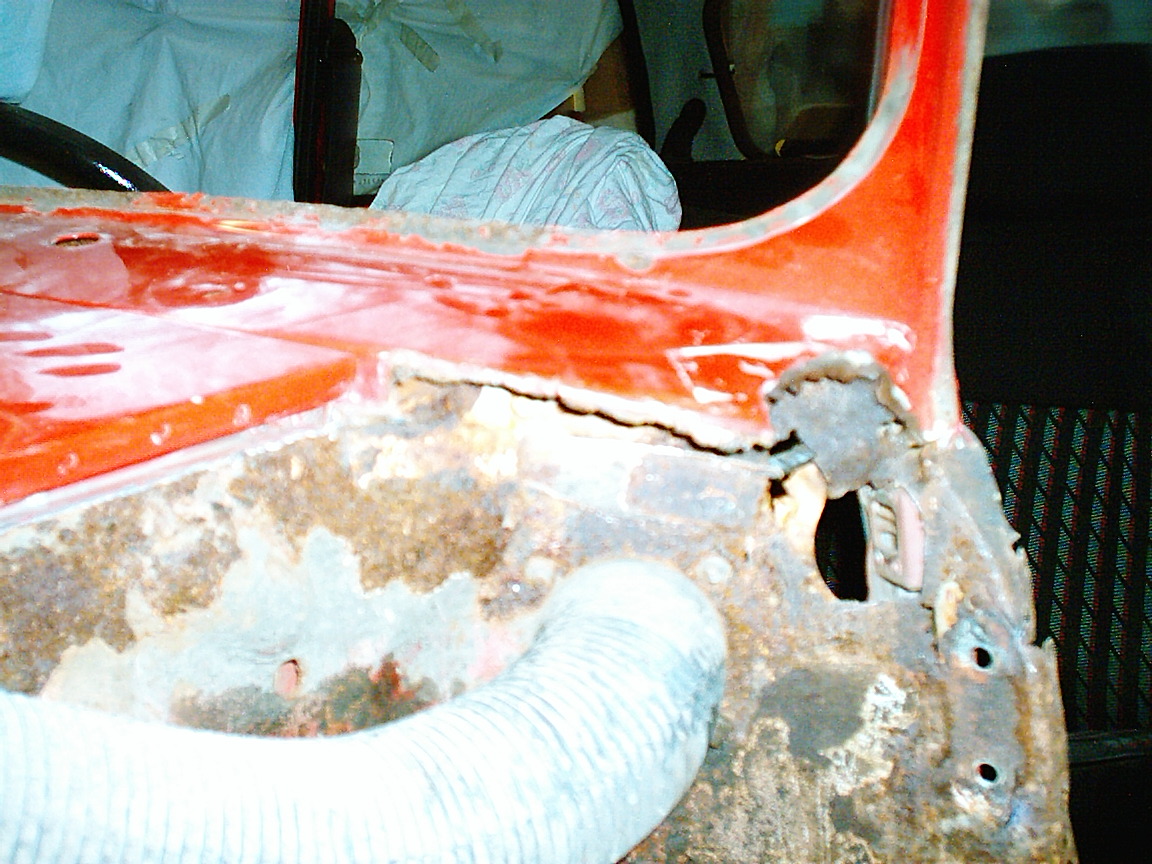
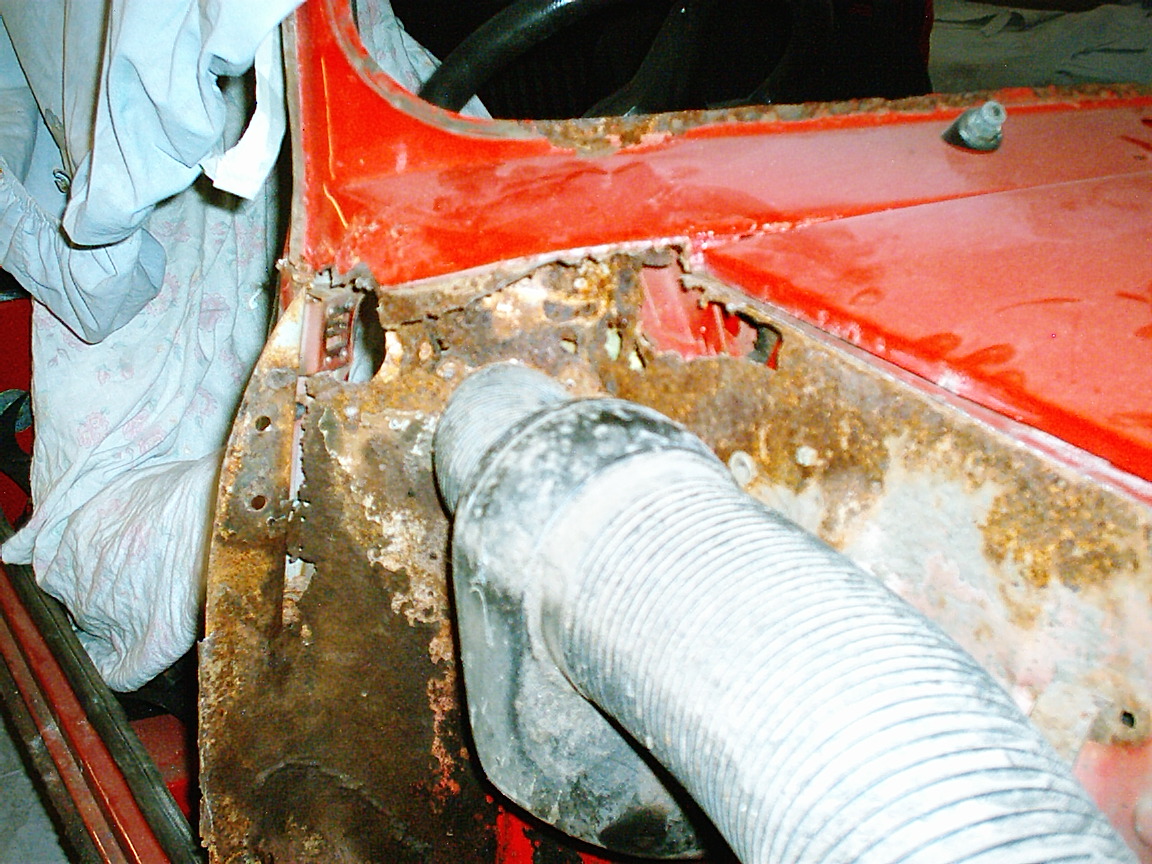
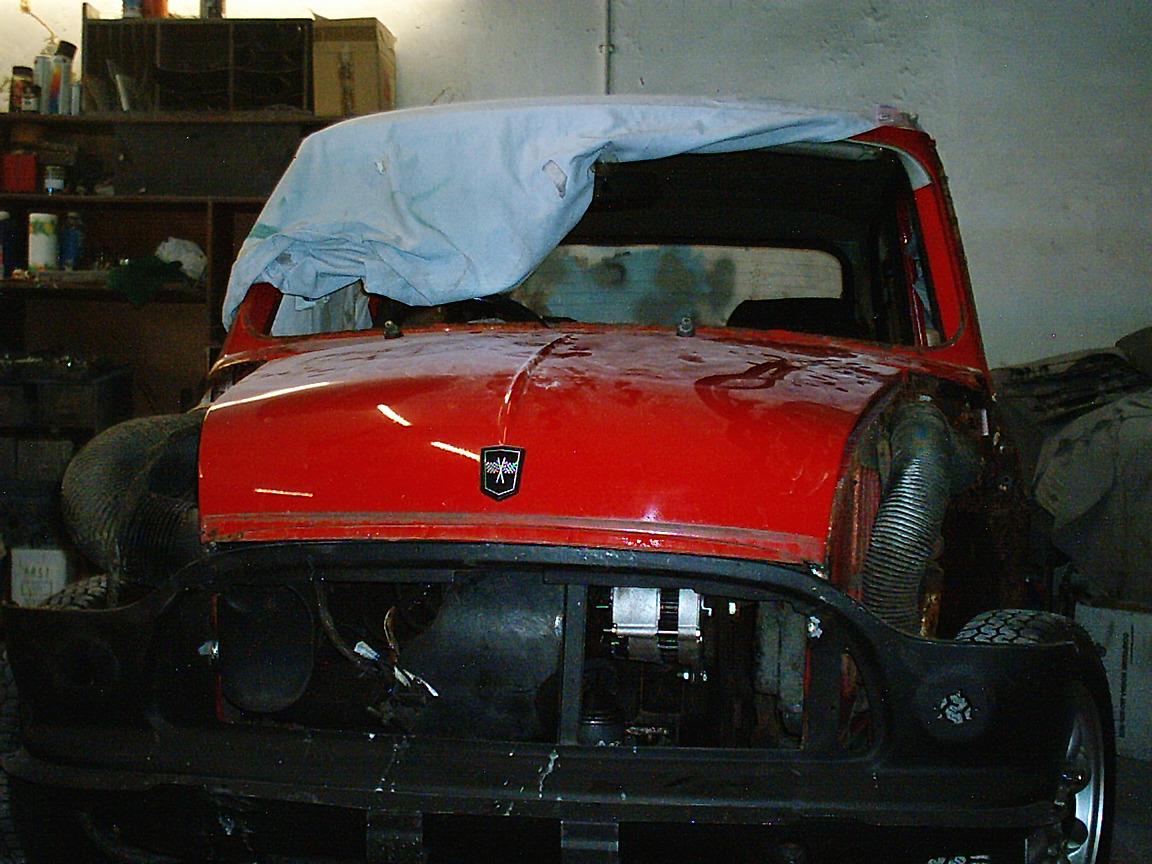
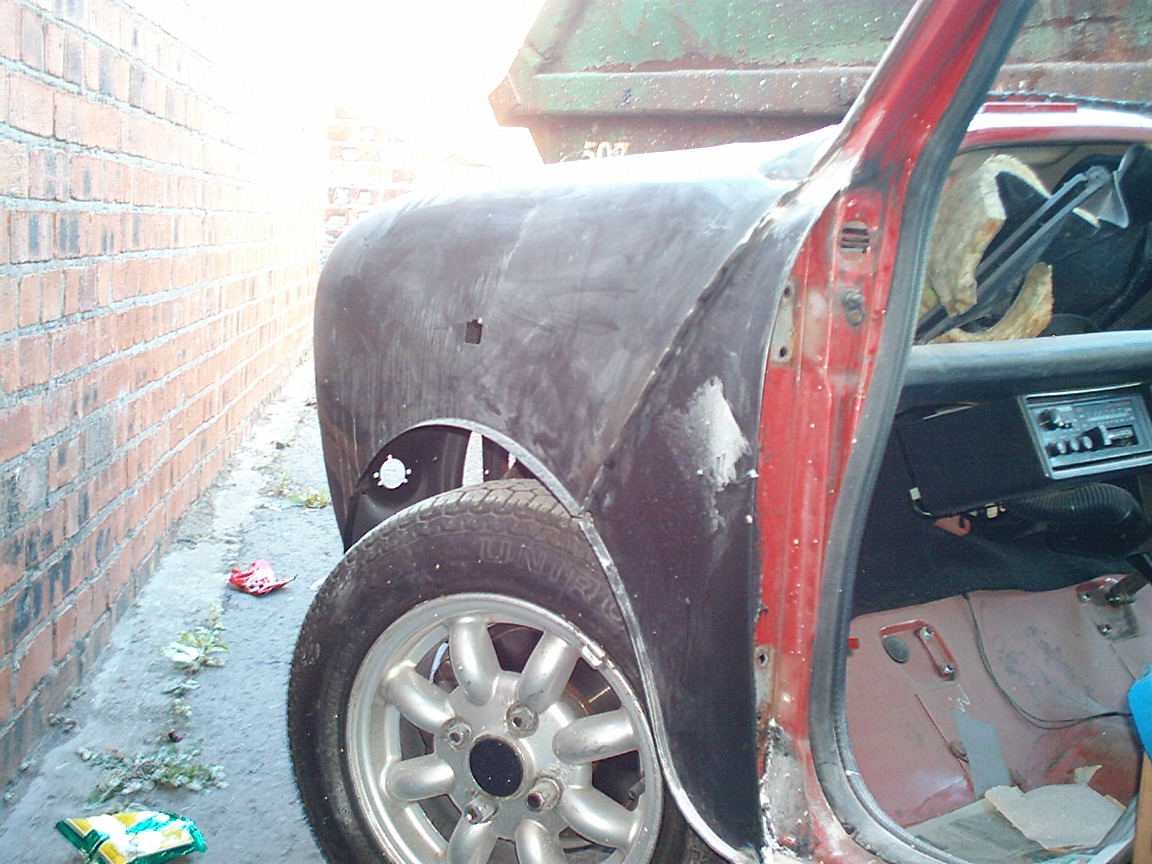
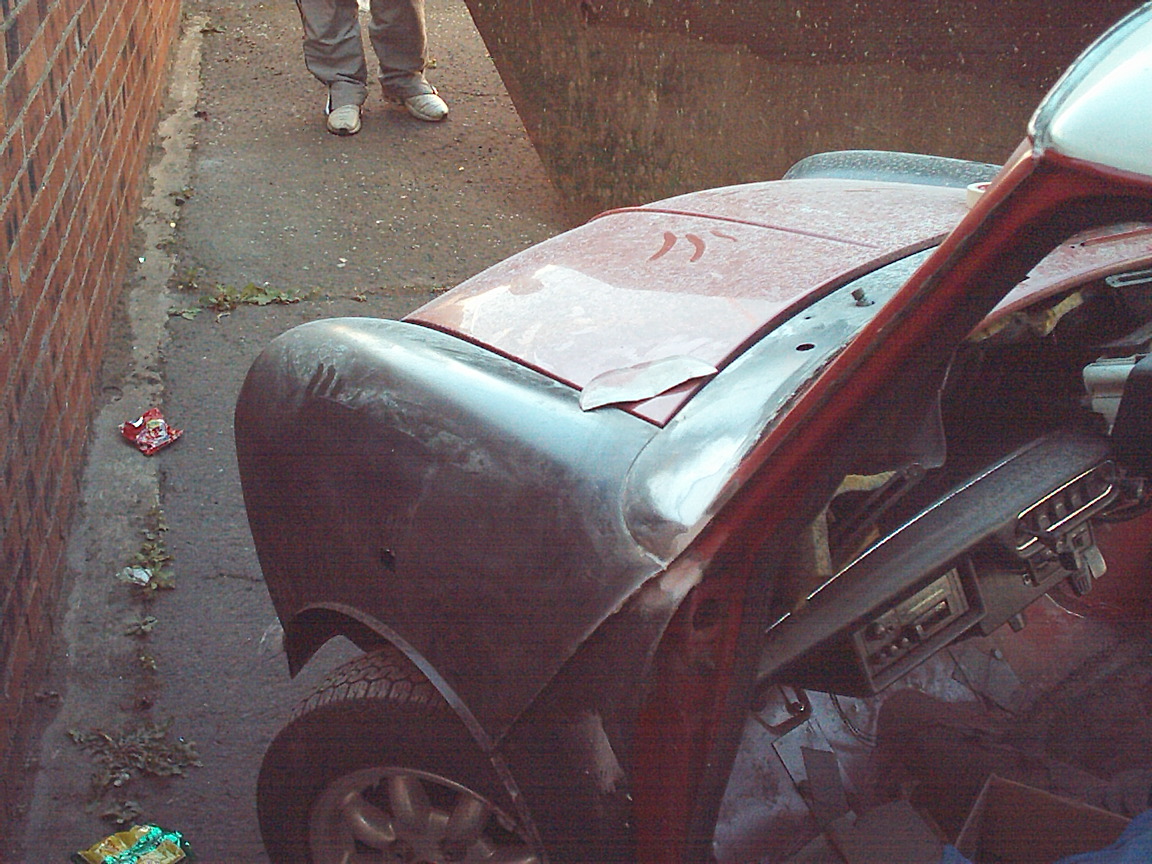
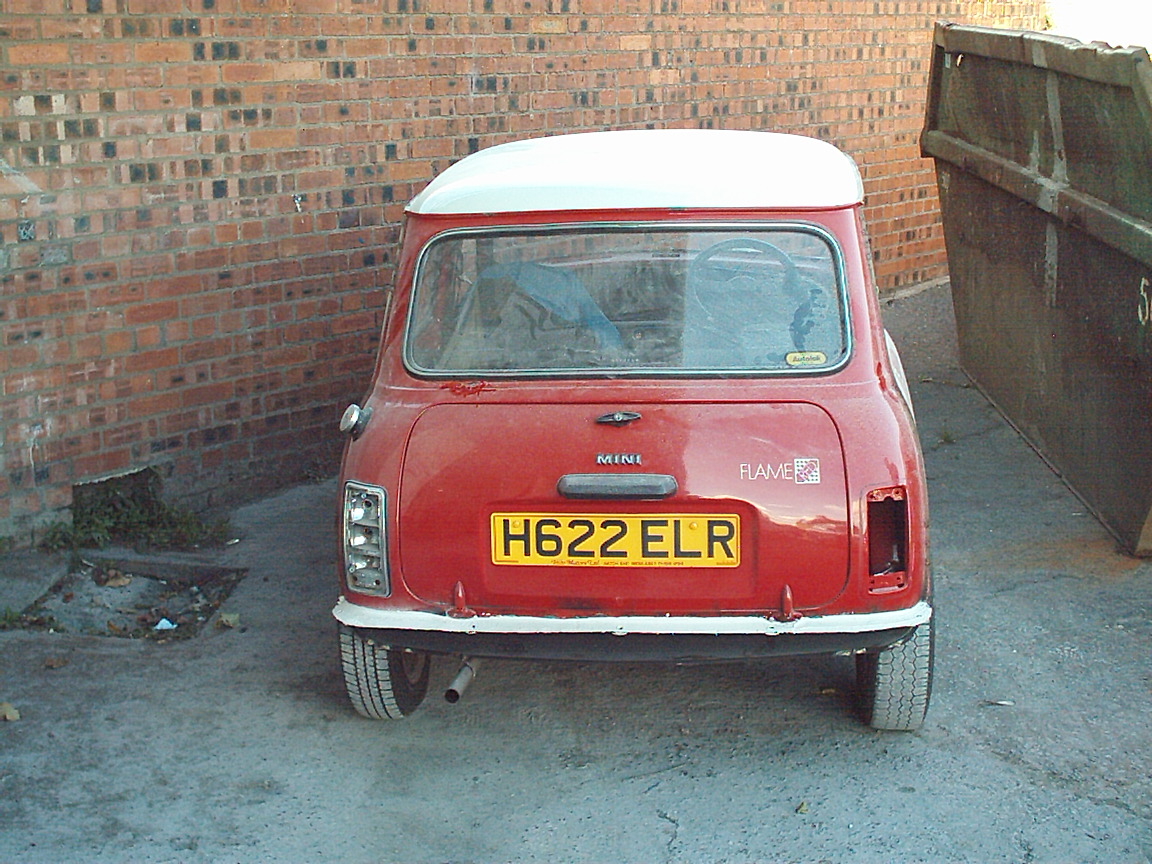
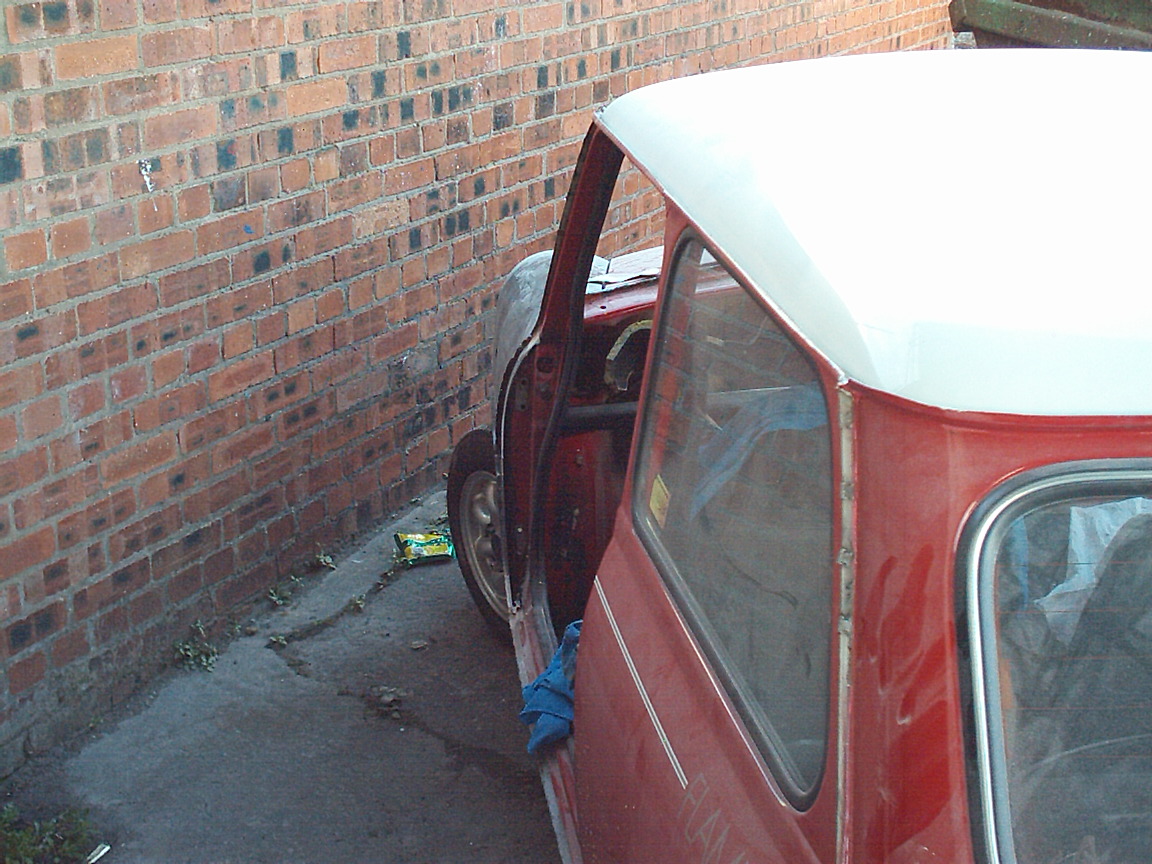
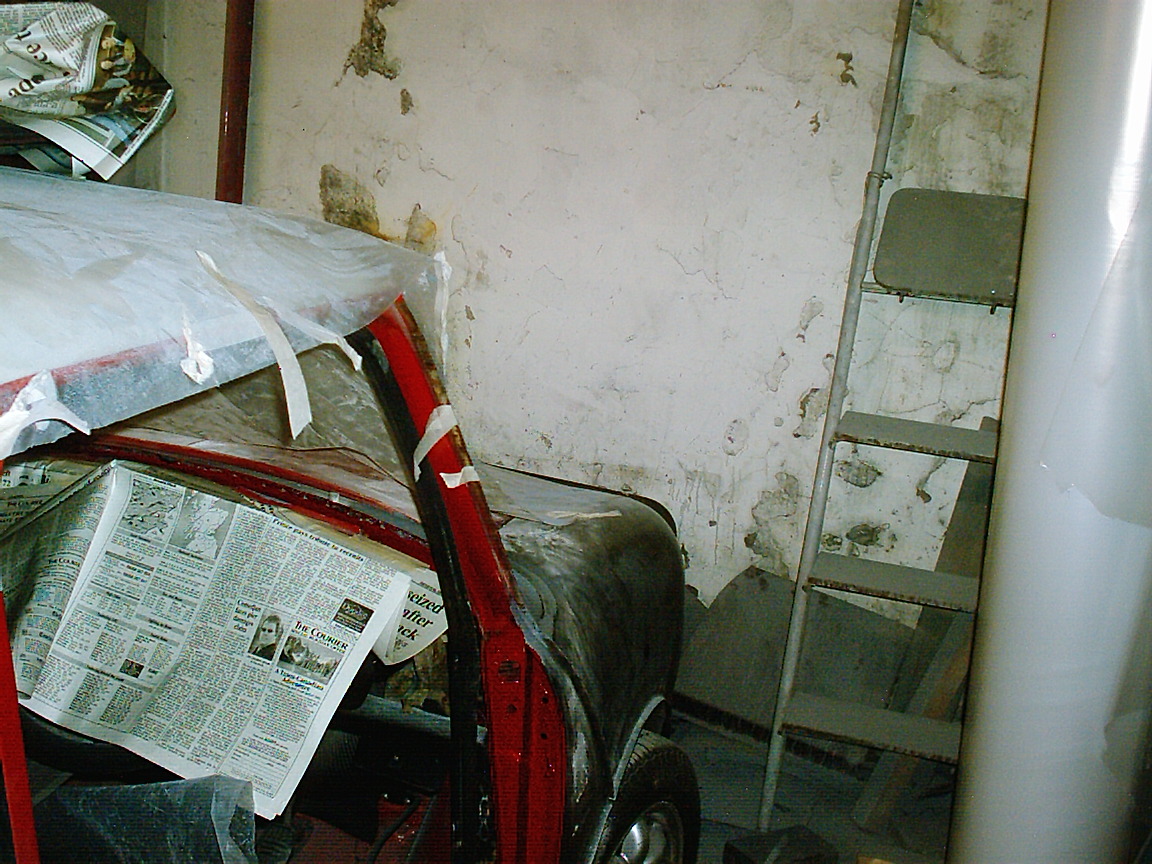
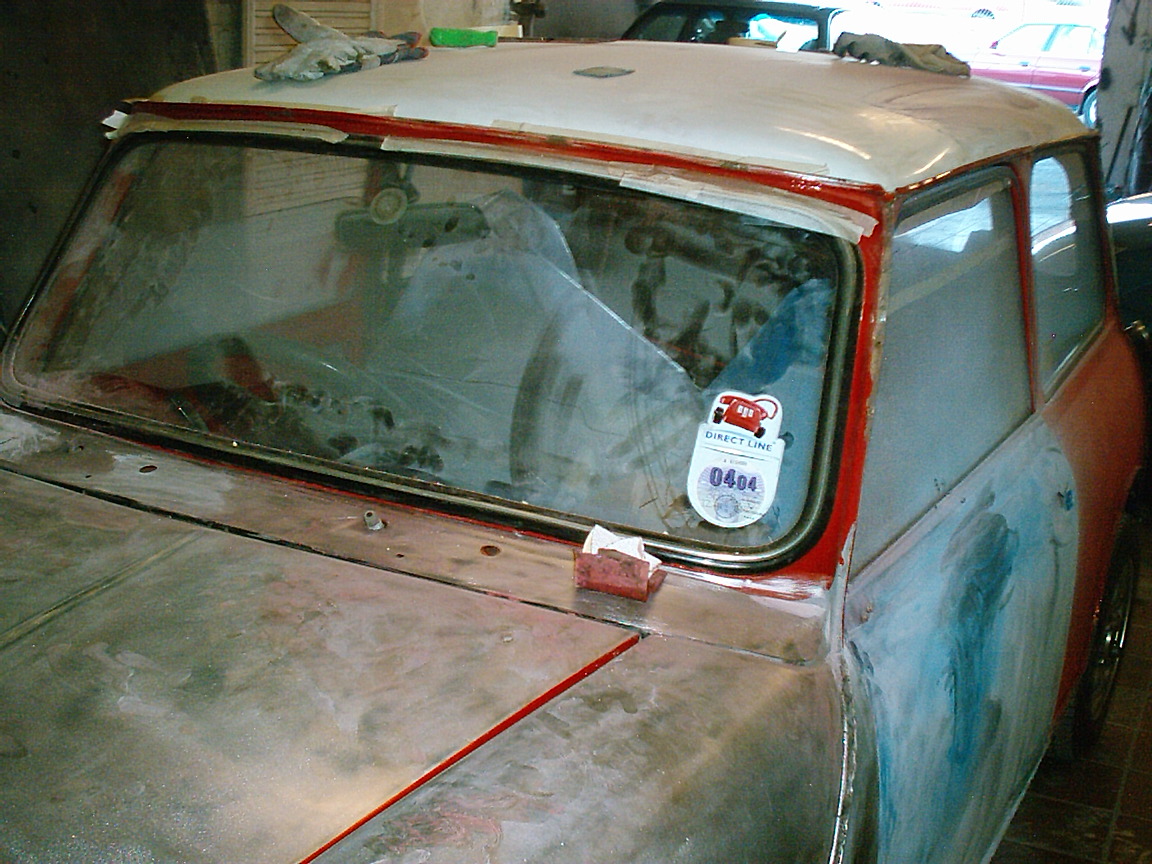
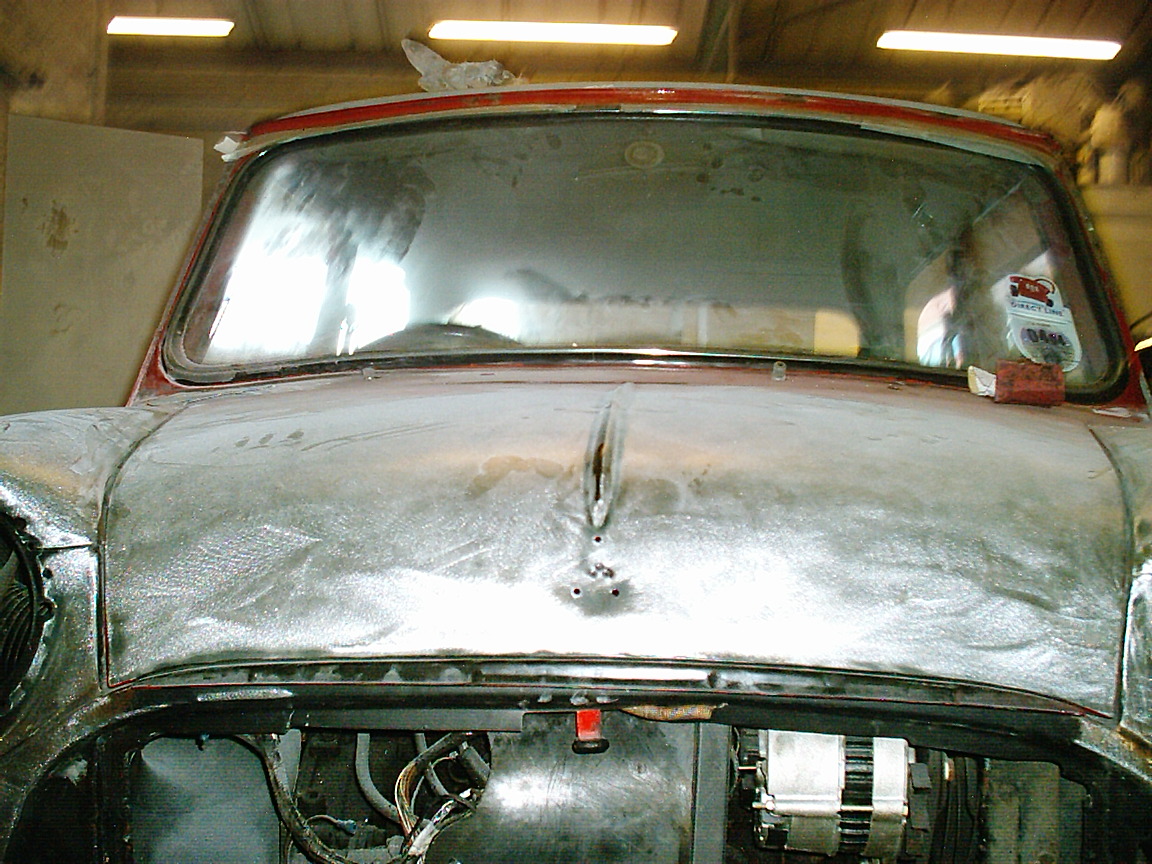
During the restoration I visited the car to see how things were progressing and took photos at certain stages. During my first visit the old wings, front panel, windows and doors had been removed. The new front panel had been fitted and it became obvious that extensive work was needed on the inner bodywork before the remainder of the new panels could be fitted.
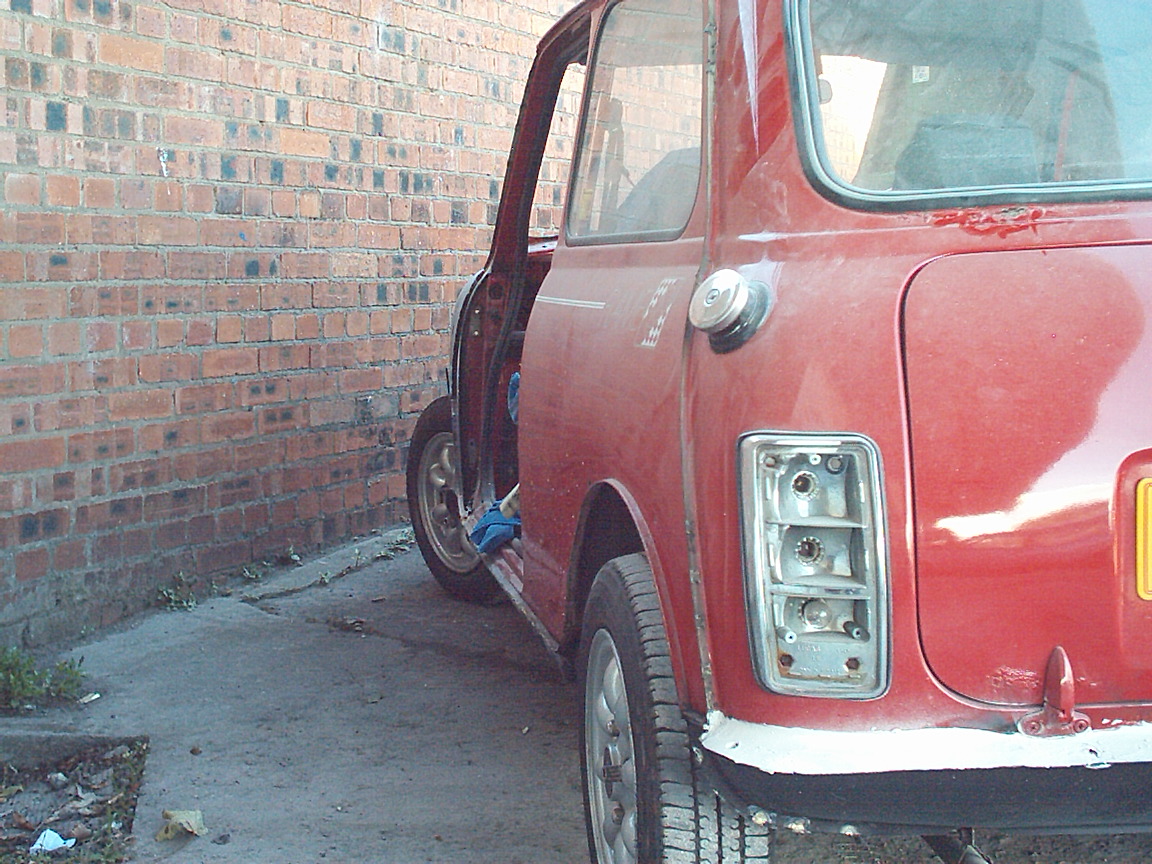
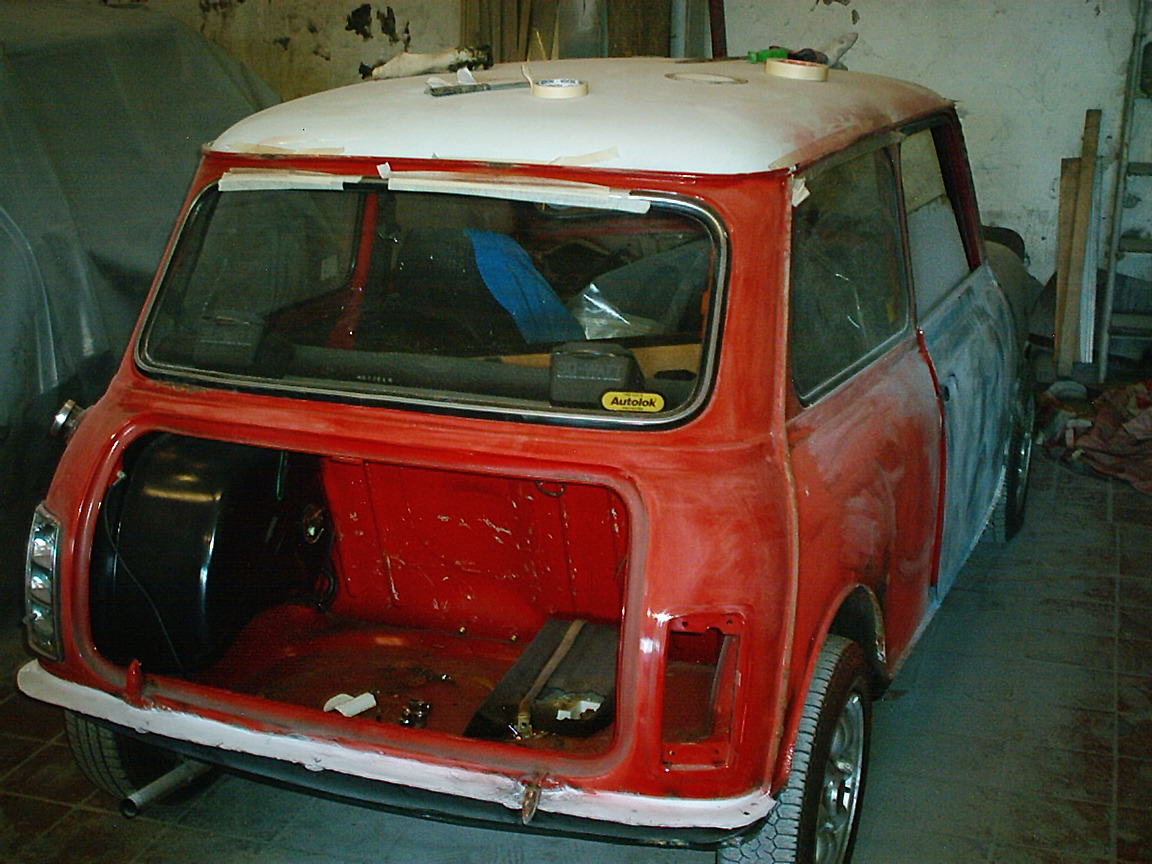
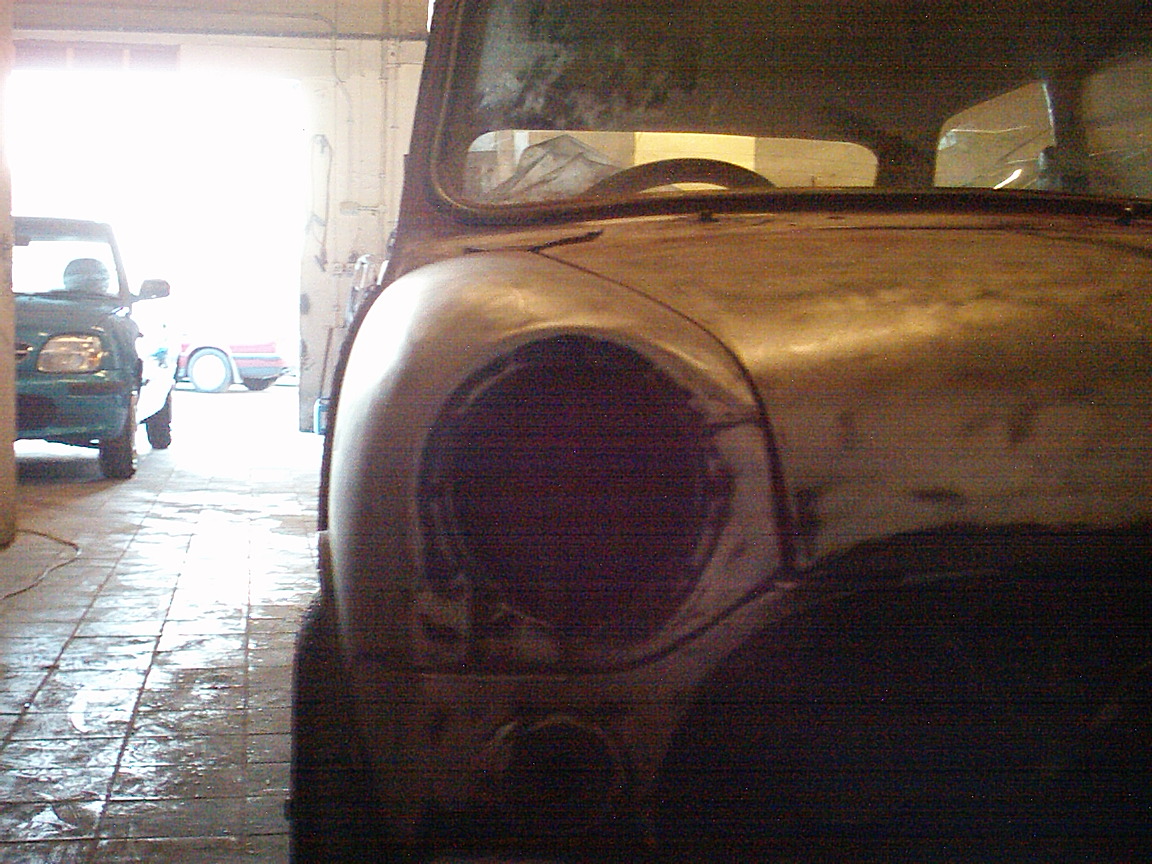
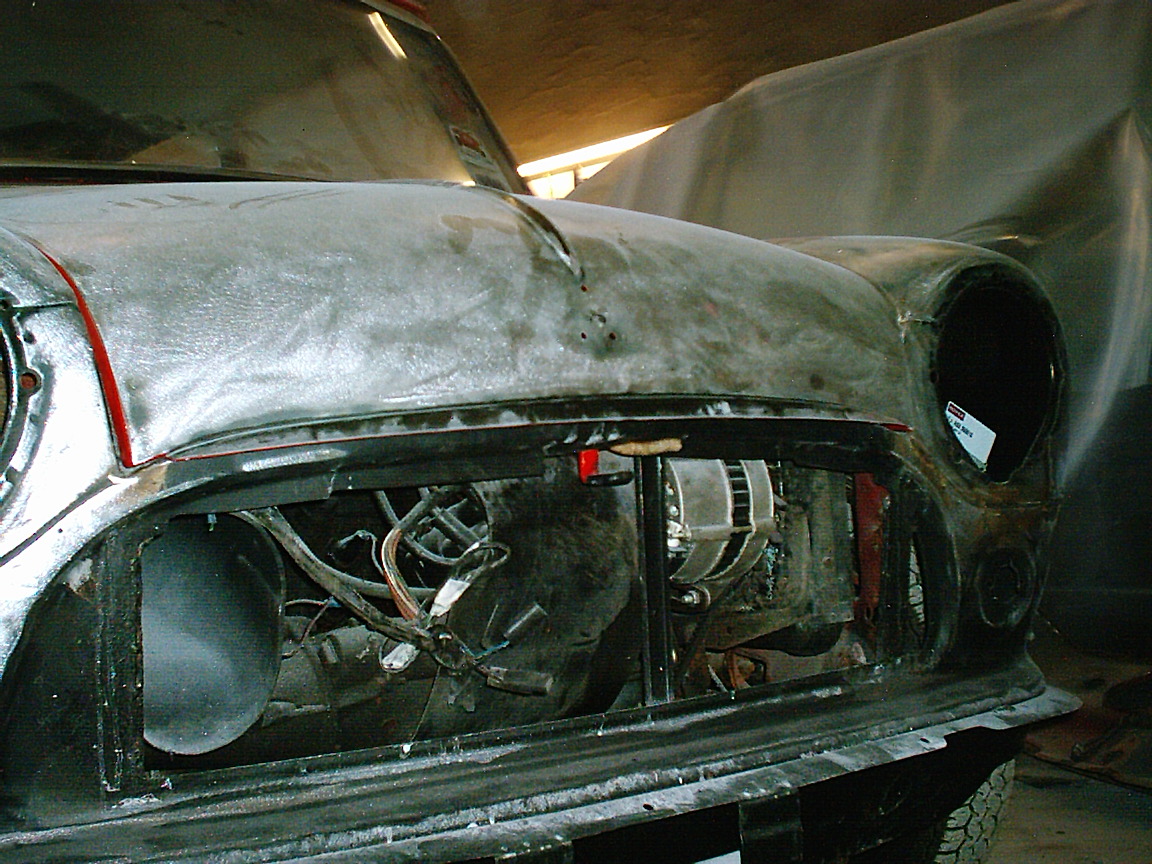
On my next visit new inner panels had been made up and fitted and the new Wings, A-Panels, Scuttle fitted too.
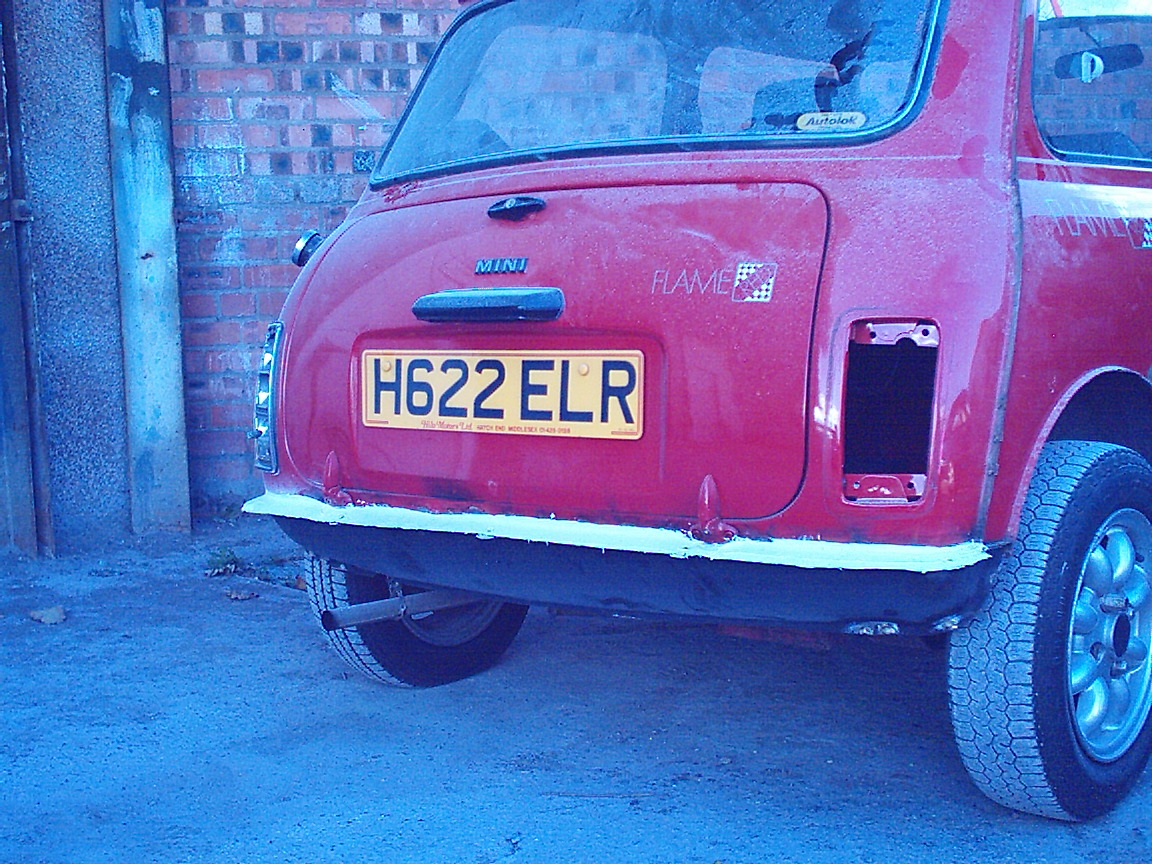
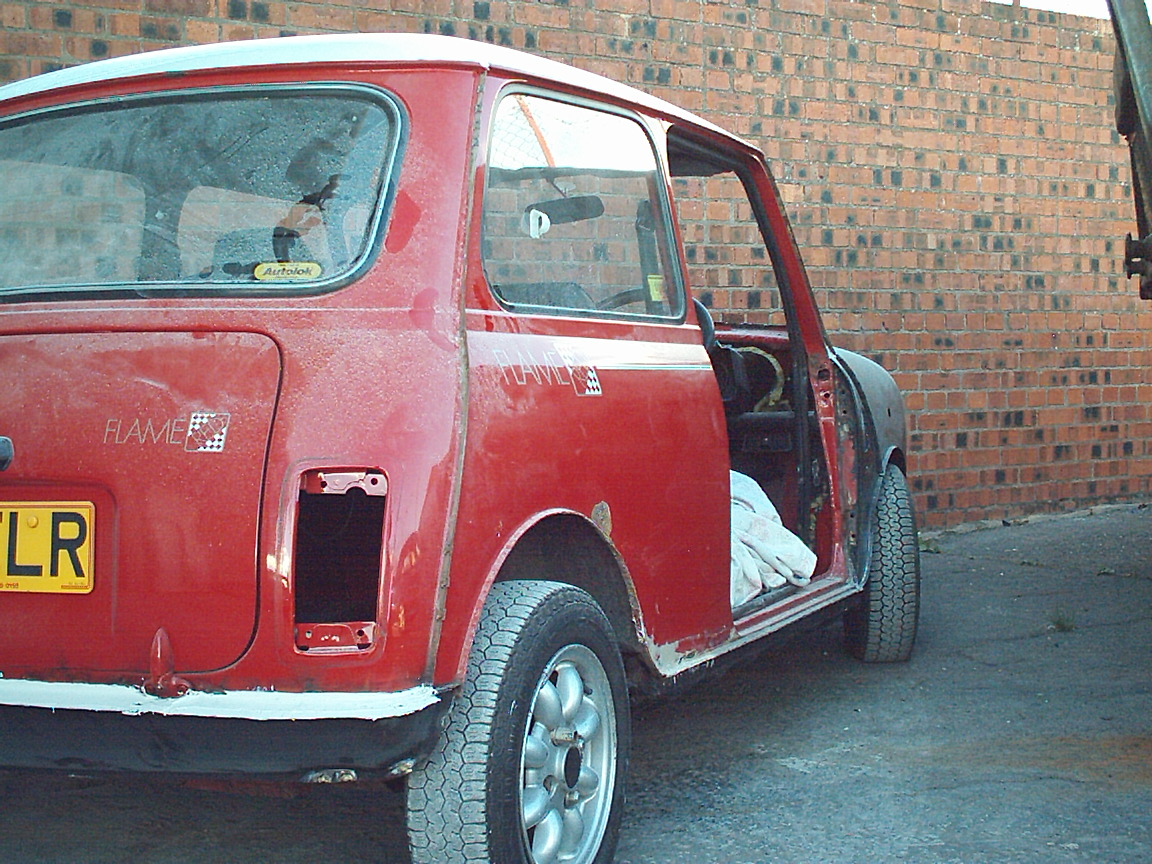
Work had also been carried out on the back end and the new Rear Valance fitted.
|
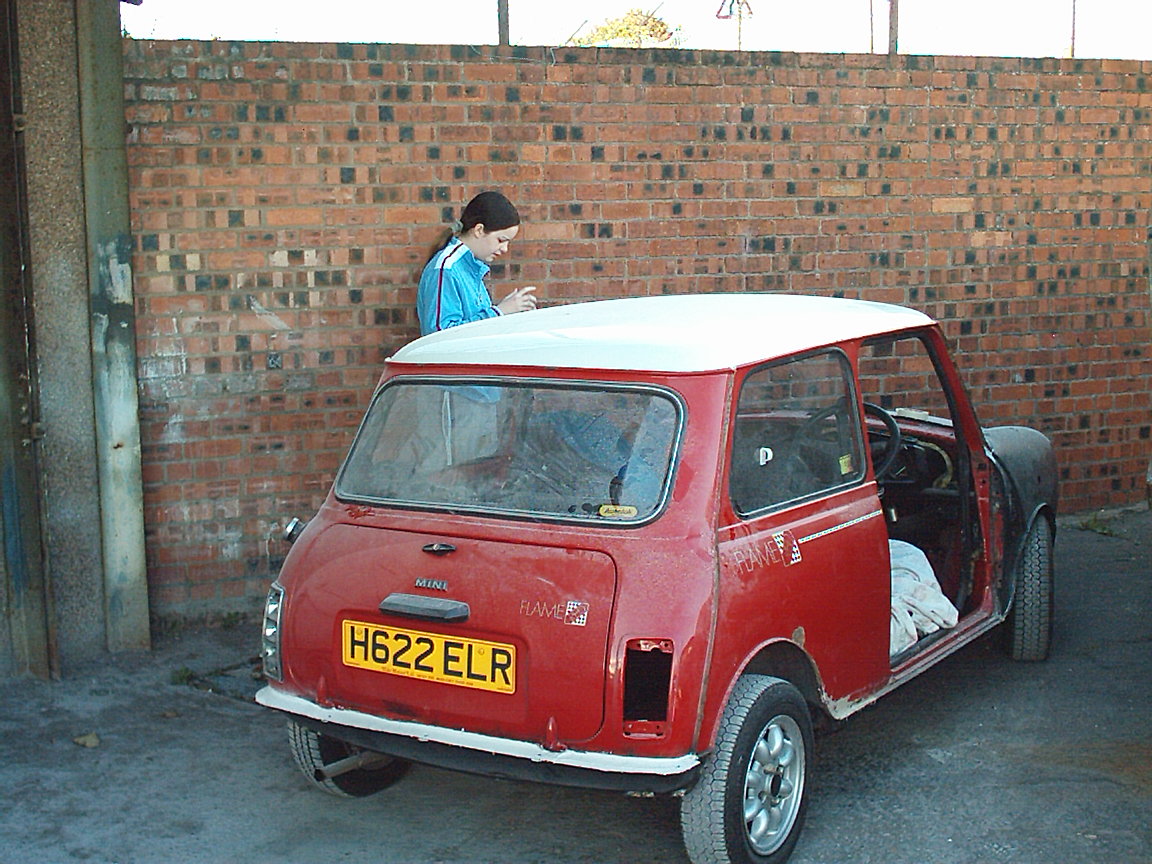
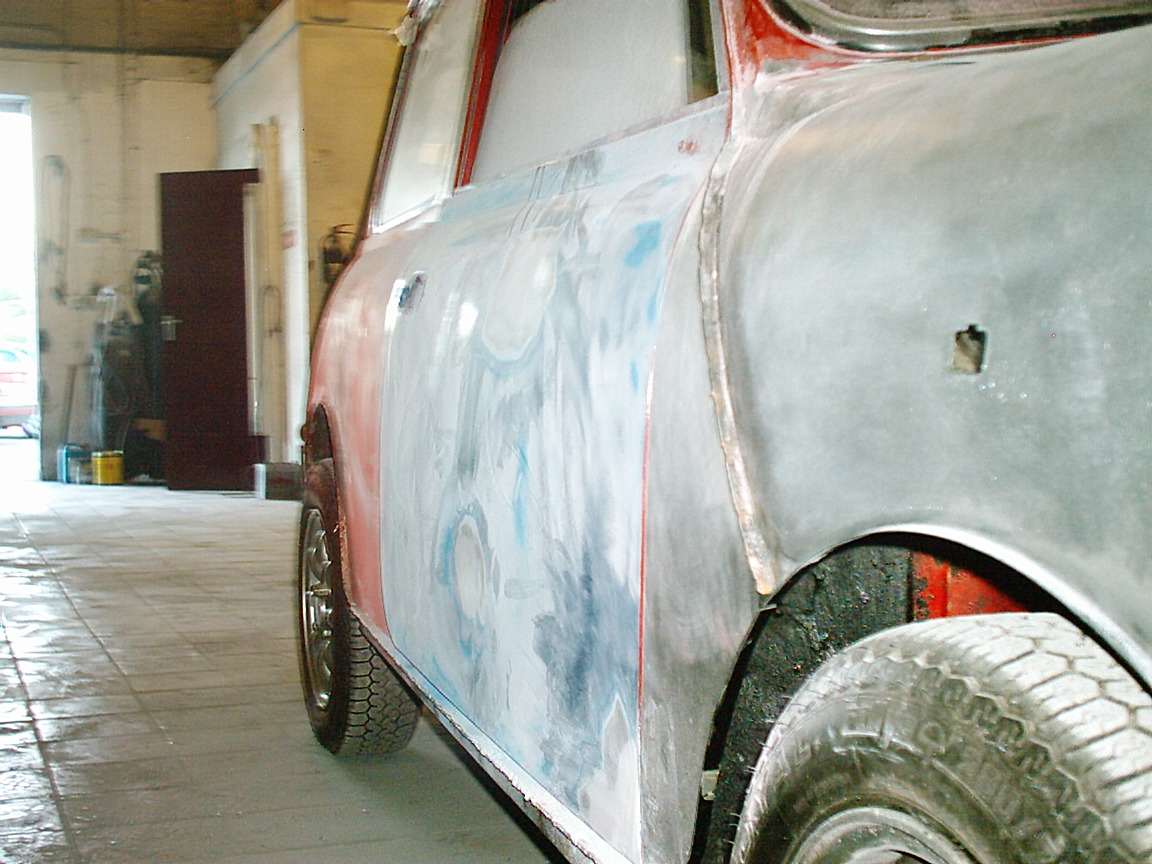
Preparation for Re-Spray
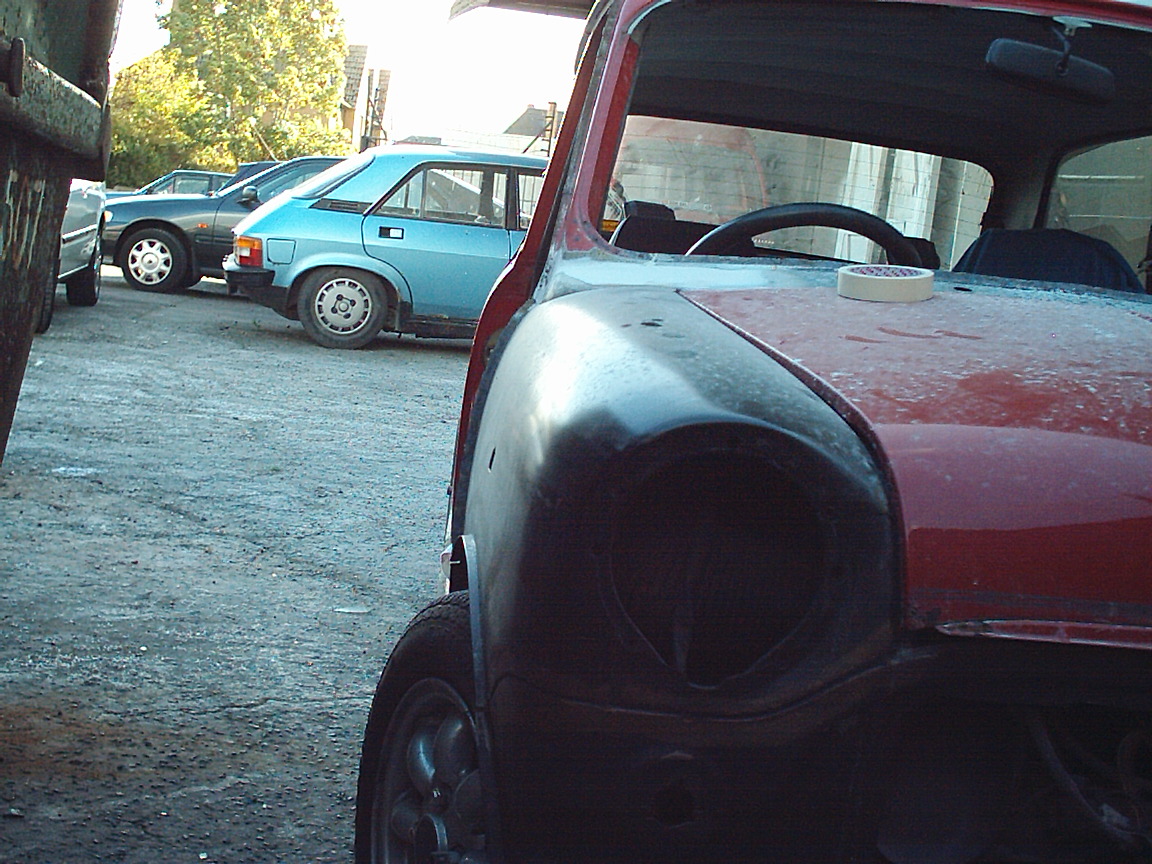
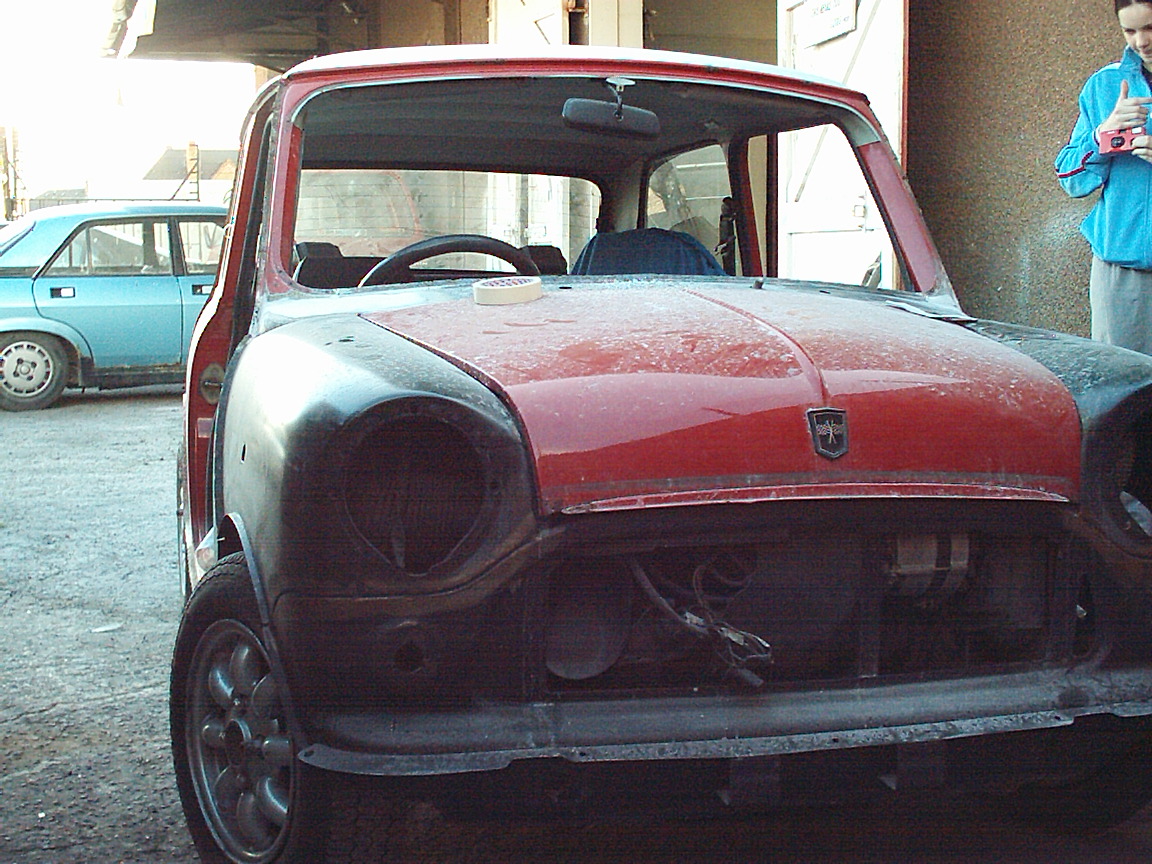
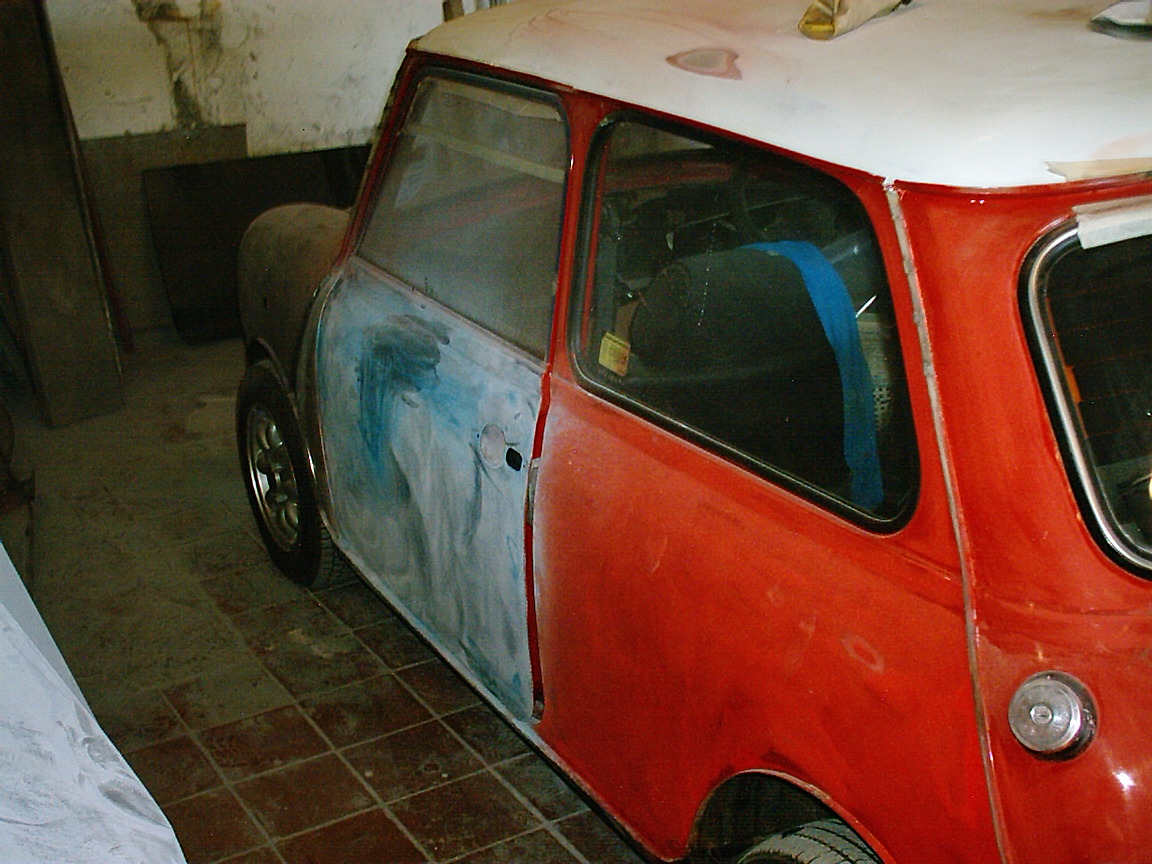
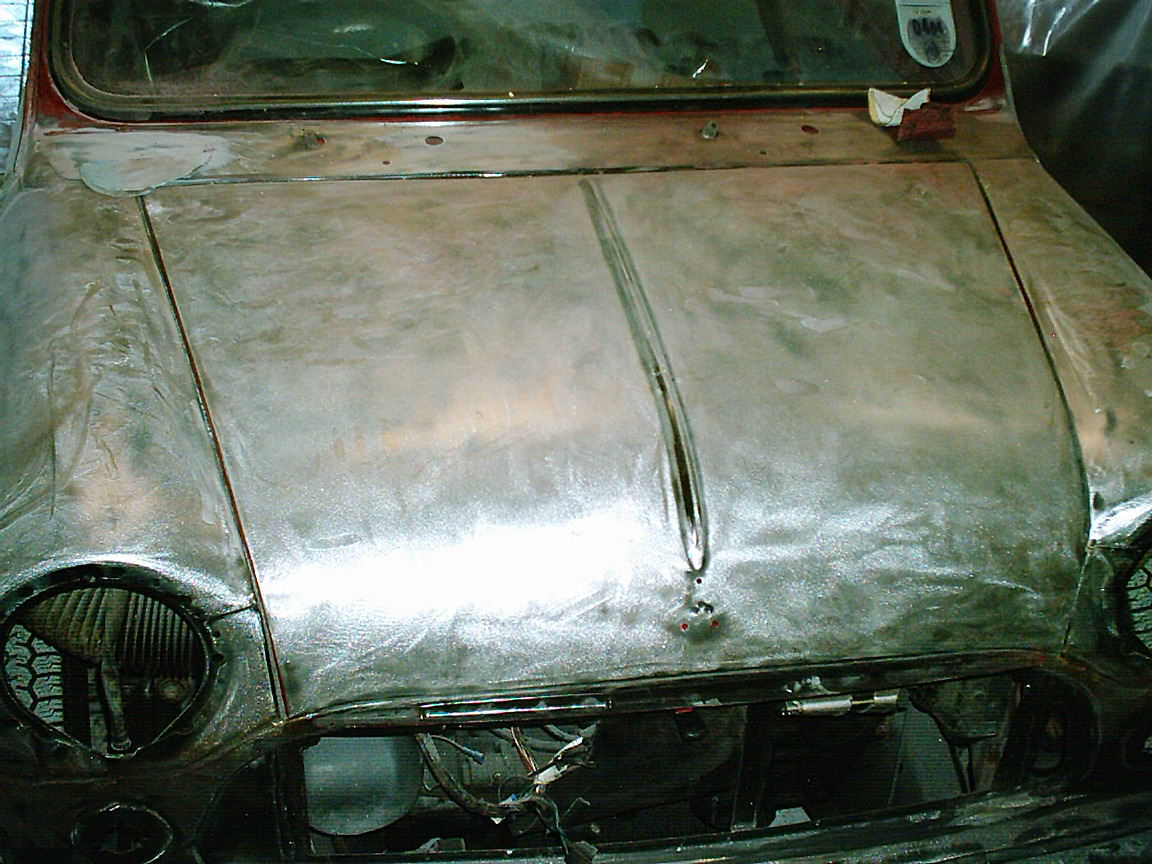
On my next few visits things were moving along in preparation for the re-spraying of the car. Attention was given to the door hinge panels and they were painted as well as the inside of the Doors, Bonnet and Bootlid, before being fitted to the car. Areas of the car had been rubbed down also.
|
||||||||||||||||||||||||||||